Introduction
Transforming (moving, rotating, scaling) virtual objects, such as billboards, in the virtual scene is a common practice in Aximmetry. To provide a better visual representation of possible transformations, you can use Transformation Gizmos.
Transformation Gizmo
Visibility
To work with the Transformation Gizmo, you must activate the Edit Scene mode.
There are two ways to activate Edit Scene mode:
- Edit Menu:
Go to Edit > Edit Scene On and choose the output you want to work in. For example, Preview 1:
After selecting a preview, a blue square next to it will indicate that the Edit Scene mode feature is turned on for that preview. You can turn on the Edit Scene mode feature for more than one preview. - Menu Bar:
The Edit Scene mode is also accessible directly from the Menu bar, where you can see the Transformation Gizmo icon.
After activation, you will see new buttons appear in the selected Preview window, and the Transformation Gizmo will appear at the origin of the selected objects.
You can use the Transformation Gizmo to transform the object's Scene Node Transformation. In this example, we will use a billboard, which also contains a Scene Node within its compound structure.
The Colors of the Transformation Gizmo
The colored arrows represent the three axes of the object:
- The red represents the X-axis
- The green represents the Y-axis
- The blue represents the Z-axis
These colors correspond to the following fields in the Transformation.
NOTE: The same color scheme applies for rotation, but rotation is not colored above because changing the rotation is dependent on the rotation of the other axis. Consequently, if you change rotation with the gizmos, all the rotation values will change in the Transformation.
Using the Transformation Gizmo
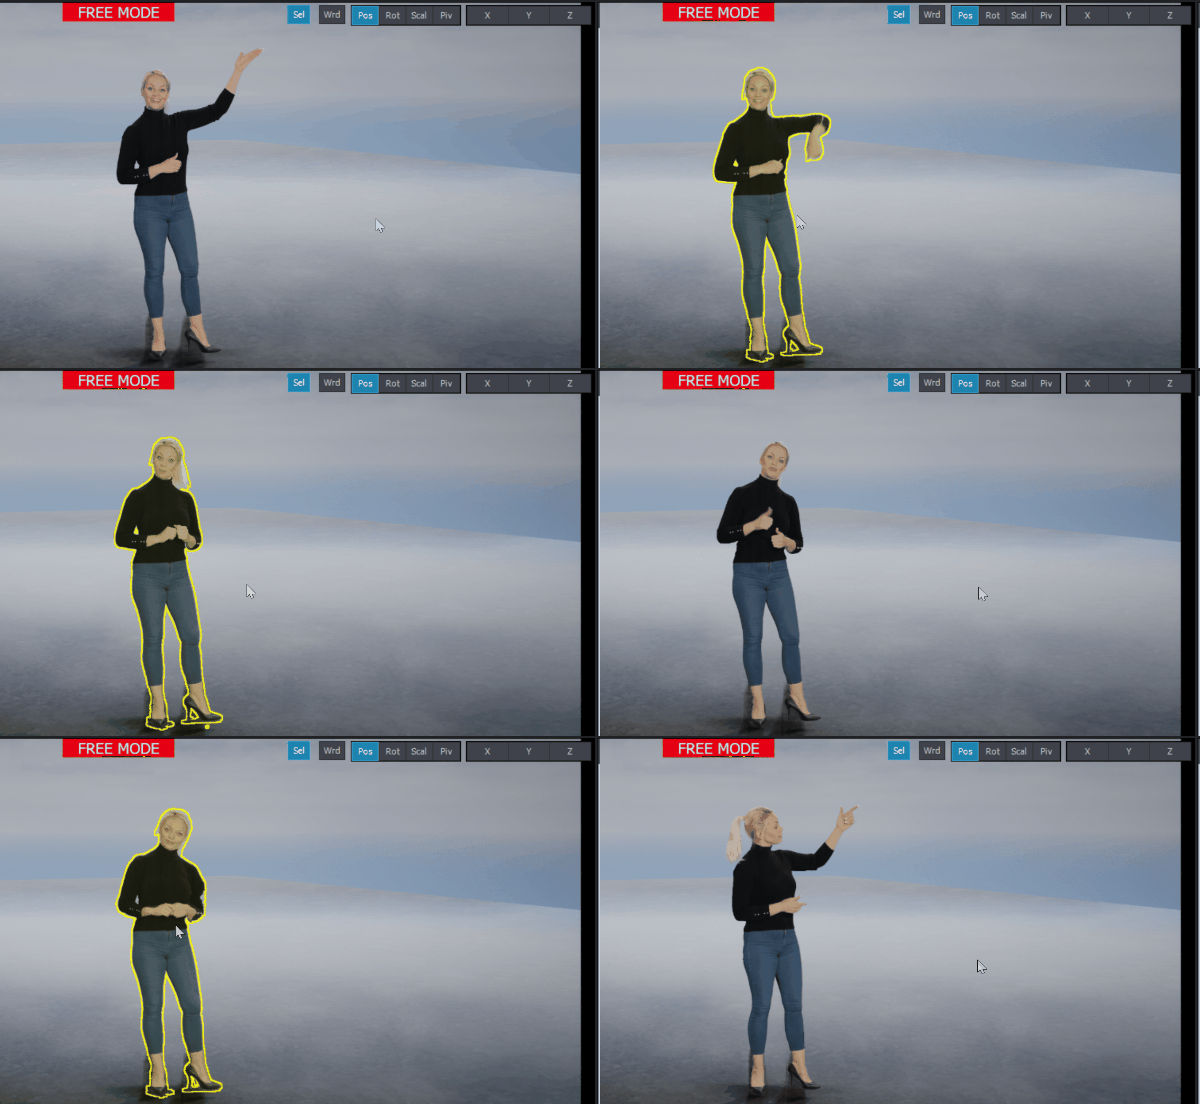
Sel - Select
Enables the selection of moveable objects with a single point-and-click.
If it is turned on when you move the cursor over a moveable object, a yellow frame appears around the object. When you click on it the Transformation Gizmo will appear.
NOTE: You can select multiple objects by holding down the Ctrl key while clicking on an object.

NOTE: The yellow frame can be seen around the talent, and not around the whole Billboard because the input is already keyed.
Wrd - World
Allows you to switch between the object's coordinate system and the virtual scene's. It can be used in every mode (Rot, Pos, Scale).
In the example, we used a transparent object. The object is rotated relative to the scene. When Wrd is Off, you can make transformations in this rotated coordinate system, or in other words, the object's viewpoint.
You can see the Transformation Gizmo takes the object's coordinate system:
After switching Wrd On you can see the arrows point in another direction. The Transformation Gizmo takes the coordinate system of the virtual scene:
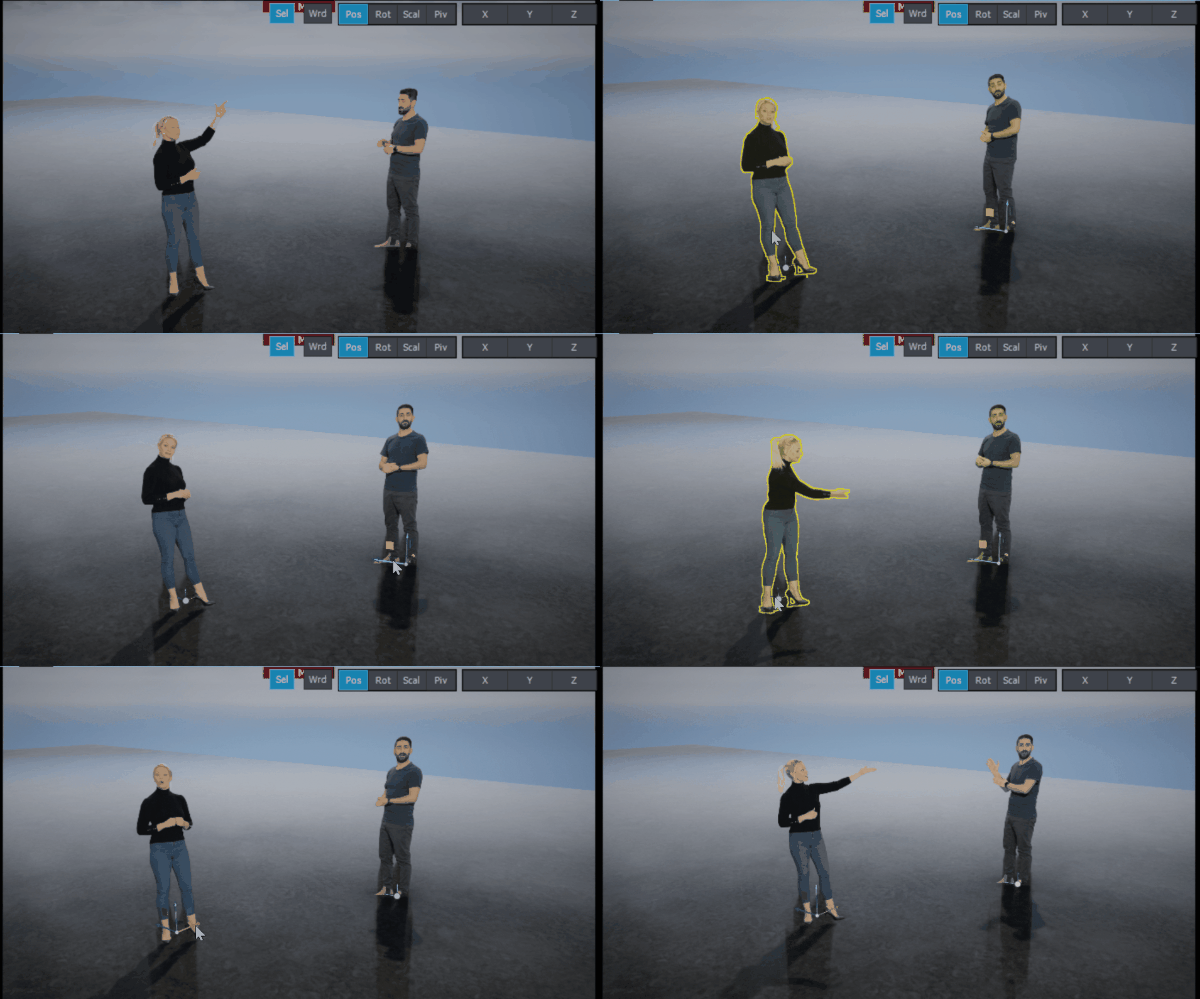
Pos - Position (Translate)
Enables Position mode.
In this mode, the Transformation Gizmo looks like this.
If you click on an arrow and drag it, you can move the object in the given direction.
By dragging the colored squares, you can move the object, keeping it in the plane of the rectangle. The movement is fixed in the same direction as indicated by the same color arrow.
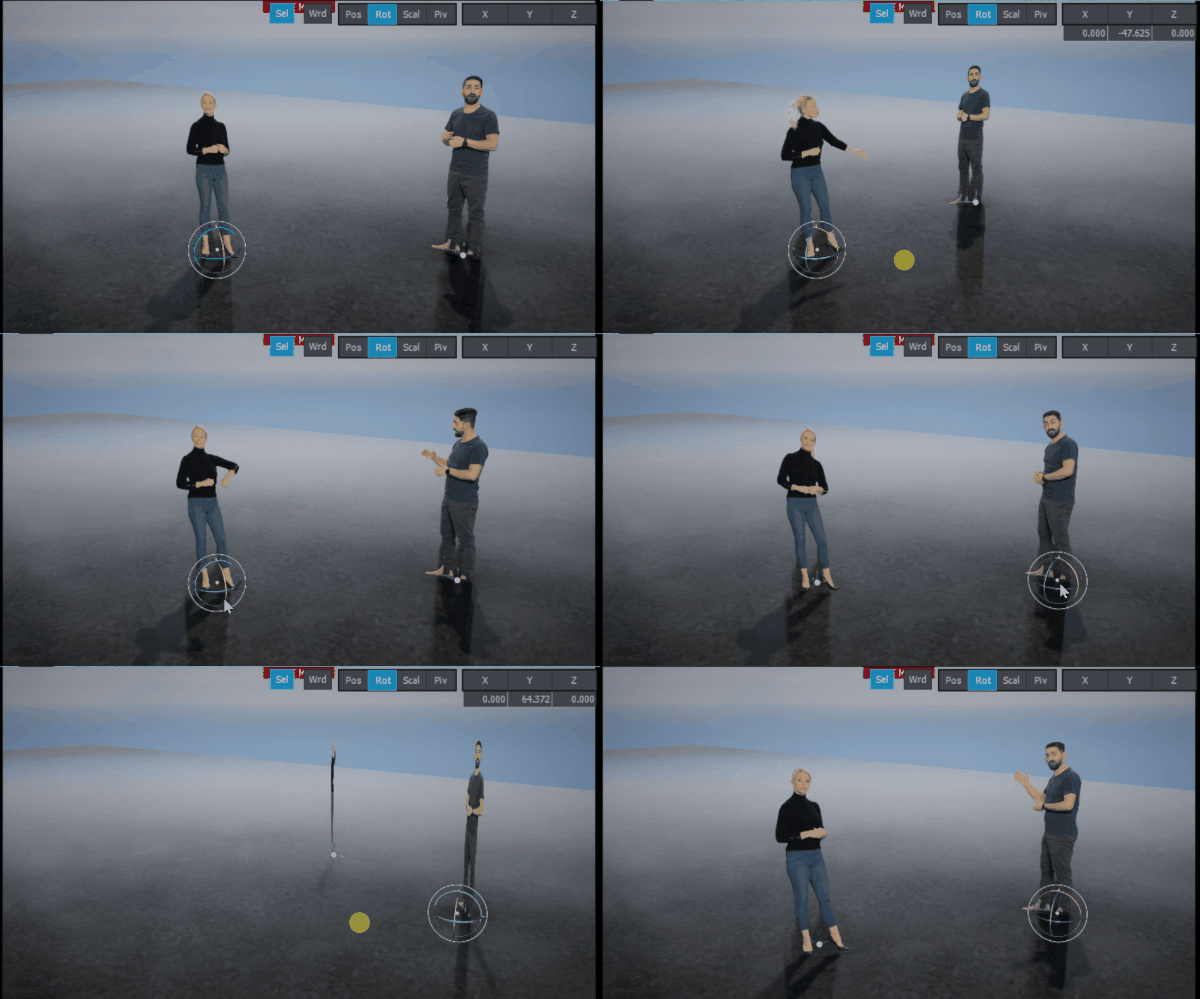
Rot - Rotation
Rot button switches to Rotation mode. This changes the Transformation Gizmo into rings.
The colorful rings represent the rotation around the same colored axes of the object.
The outermost white ring rotates the object in a direction parallel to the camera's plane.
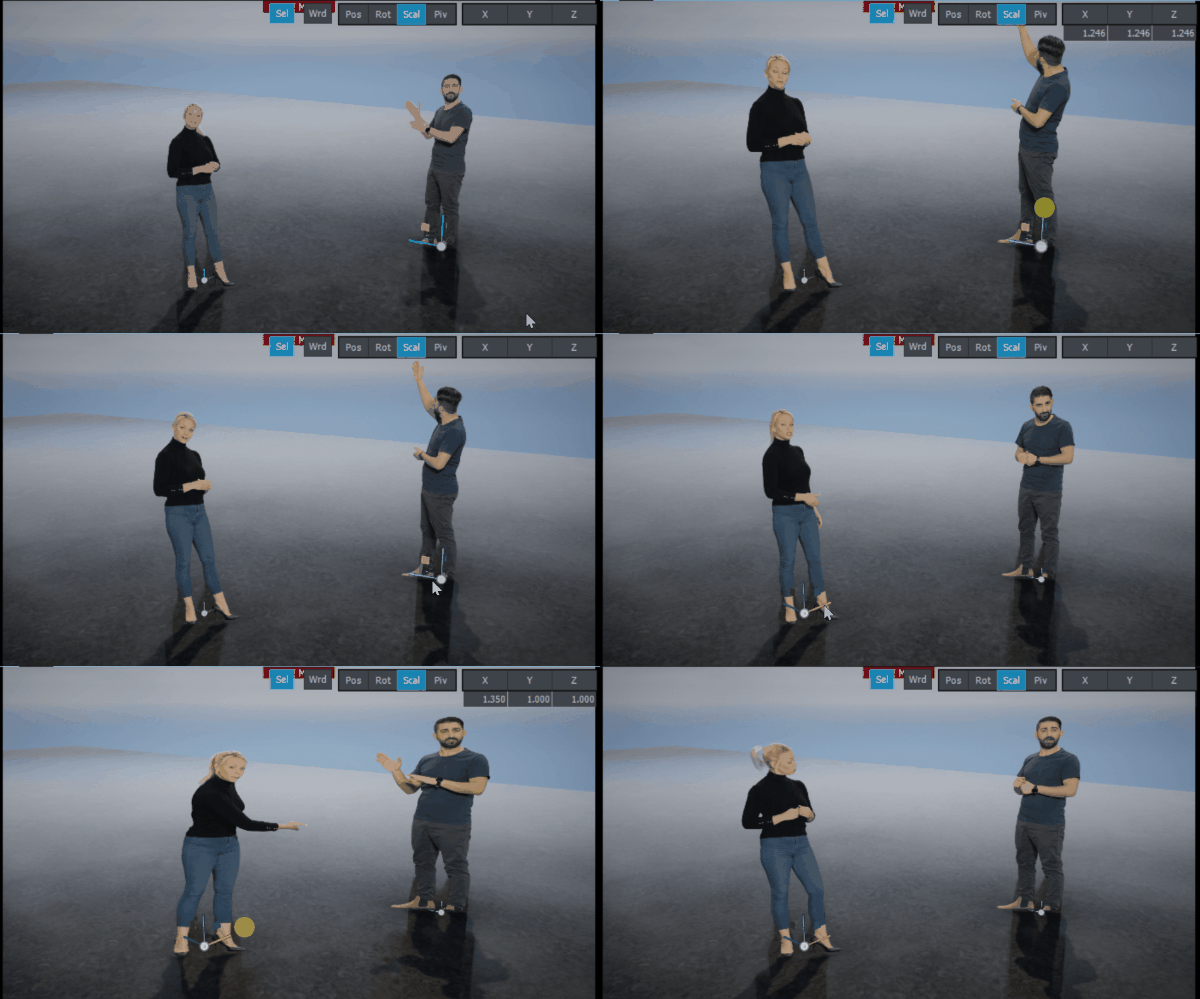
Scal - Scaling
Scal button enables Scaling mode. In this mode, the Transformation Gizmo changes again and you can see 3 long cones, the now familiar squares plus a white sphere in the origin.
You can scale the object by clicking on the colored cones and moving the mouse. Scaling like this only affects the scale of a single axis, so the object can easily be distorted using this method.
Similarly to the Pos mode, you can scale along 2 directions using the squares.
As in Pos mode, the color of each square excludes the same-colored direction.
If you click and hold the white sphere and move the mouse, the object will be scaled proportionally.
Piv - Pivot
By default, the Transformation gizmos are placed at the rotation center of the object. Piv button allows you to move this rotation center. This is marked by the white dot.
The Transformation Gizmo will look like this.
You can make single-direction movements with the arrows or bidirectional movements with the squares.
X, Y, Z
With X, Y, or Z buttons you can activate one or two directions of the Transformations.
When all of them are off, all of them are active
But when you switch the X on, you will see that only the X direction remains active, and the others disappear.
If you select two directions, (for example X & Y) you can transform along these axes at the same time.
Now if you click on the Z button you will immediately notice two things.
The first is the Z direction and the red square appears at once.
The second: the X button turns off automatically, and the X transformation gizmo disappears with the blue square.
The system only allows two directions to be active simultaneously and deactivates the third one in a first-in-first-out method.
Deselect all buttons if you want to use all directions again.
Shortcuts
All the above buttons have shortcuts, which can be customized in the Edit > Preferences \ Keyboard Shortcuts \ Scene Editor menu.
Multiple Selections with Multiple Transformations
Multiple Selections
You can select multiple objects in Edit Scene Mode. Just hold Ctrl and click on the objects.
You can see a Transformation Gizmo for each object you select.
Some transformations, such as rotation, are not parallel, so there must be a pivot point relative to which the transformations occur when multiple objects are selected. This pivot object is highlighted by larger axis gizmos and has a smaller white dot in the center, while the rest of the objects have larger dots in the center. If you click on the larger dot, that object will become the pivot from that point onward.
NOTE: If the compound is locked, you can only select and transform objects with an exposed transformation pin. If you wish to transform objects individually you need to unlink the compound.
Move
You can do multiple movements by simply clicking and dragging a transformation gizmo and moving the mouse. You will see that all the objects will move together. You can also see an example of making the objects to be pivot by clicking on the Transformation Gizmo beneath them.
Rotate
The most important thing to know about multiple rotations is that the pivot is always the center of the rotation and all selected objects will rotate around it.
Scale
When you do multiple scaling simultaneously you can see the size of the objects changing simultaneously.
Properties of Scene Editing
The Scene Editing gizmos and their behavior can be further customized in the File > Properties \ Scene Editing menu:
NOTE: The Use per-compound settings option is detailed in the Rendering Settings documentation.
Camera Mover Options
With the Camera mover system, Allow roll, and Allow using WASD keys for moving you can change how the mouse and the keyboard move the camera in the preview. These are independent of Edit Scene being turned on or not.
You can read more about the Camera mover system and its options in the Camera Mover Mouse Control documentation.
Gizmo Editing Options
Handle size
Handle size changes the size of the gizmos. For example, compare handle size 1 to handle size 2 in the images below:
When the Constant option of Handle size is turned on, changes to the parent object's scale won't affect the Handle size.
Symbol Size
Symbol size adjusts the size of selected dummy models for 3D effects in Aximmetry, such as lights and the camera. For example, compare size 1 to dummy model size 2 in the images below:
When the Constant option of Symbol size is turned on, changes to the parent object's scale won't affect the Symbol size.
Show Small Axes for Inactive Selected Objects
When there are Multiple Selections with Multiple Transformations, turning off Show small axes for inactive selected objects will hide the axes gizmos on the secondary selected objects:
NOTE: The object selected first is the pivot for editing, hence it has a bigger axis gizmo.
Show Helper Geometries
When Show Helper Geometries (camera/sport frustums etc.) is turned off, it hides perspectives (frustums) of the selected 3D effects of Aximmetry:
Rotation Mode
- Tangential rotation mode: This mode increases or decreases the rotation at a constant speed defined by the Rotation Speed setting when editing with the gizmo handles.
- Circular rotation mode: This mode changes rotation towards where the cursor moves when editing with the gizmo handles.
Rotation Speed
Rotation speed is applicable only in the Tangential rotation mode. It changes how fast objects rotate when editing with the gizmo handles.
Translation, Rotation, and Scale Grid
When dragging an object with the gizmo handles, holding down the keyboard button Ctrl will snap the object to an imaginary grid. The grid's size is specified by these parameters.
Snapping works only when Wrd - World is selected.


